I'm sure most of you have seen the custom name blanket craze on Etsy or Pinterest already. I immediately fell in love and wanted one for Griffin's birth announcement but didn't want to shell out the $100 for it, which is really a fair price considering the seller has to design and order the fabric and then sew the blanket. Plus, the fabric is expensive since it is custom per person and you can't buy in bulk. So if you can afford it, then I recommend saving yourself some time and energy and just ordering it from a shop. My favorite seller is
Jennifer Ann and she has some cheaper options too.
If you are a cheap, DIY'er like myself then read on.
(Note: You do not need a serger or expensive sewing machine to make this.)
I found an amazing fabric site,
Spoonflower, that allows you to design your own fabric and order it on numerous different textiles, my favorite being the Modern Jersey. It is so soft!
Using photoshop and this
helpful information on the Spoonflower website I designed my pattern. Then I uploaded it to the website and ordered the fabric. I ordered 1 yard of each pattern on the Modern Jersey. I recommend ordering a swatch first to make sure the pattern and color is accurate.
If you want a large square blanket than I recommend ordering 2 yards. I was going to fold the 1 yard of fabric in half for a small square but once I got the fabric decided to leave it as is and have 1 large rectangle blanket. I bought basic white jersey fabric from Joann's for the backside to make a nice thick, double-sided blanket. I toyed with the idea of having their first names on one side and then coordinating fabric with their middle names on the back-side. Or fun fabric like polka-dots, stripes, etc. Just some other fun ideas for you to consider.
Sewing with jersey is a little different than other fabrics due to the stretch but anyone can successfully sew jersey with professional results. I am a total amateur sewer with basic equipment (an old free sewing machine gifted to me from a friend) and I didn't have any complications thanks to this website:
The Prudent Baby. Check it out for lots of great information and tips. And if you don't have time then I'll share what worked for me.
I bought two items for my machine to help sew jersey:
The even-feed foot moves both the top and bottom layers of the fabric to prevent too much stretching to give you a nice, even and smooth stitch. This foot is worth every penny. I also used ball point needles which are a little more rounded than universal and prevent the fabric from tearing slightly at the stitch. You can read more about the benefits of this needle in The Prudent Baby post.
With these two items in place I then set my machine's stitching. To allow for some stretch in the seam which you need with jersey fabric I used a zig zag stitch with the length set low, about 1.5 for my machine. I know every machine is different but this is what mine looks like. I also set the tension to 3.
Once you have your sewing machine set up the rest of the project is just like any other sewing project. Make sure to pre-wash your fabric and practice sewing on scrap jersey. This really helped me get the hang of using the even-feed foot as well as ensured my machine was set correctly.
Ella helped me pin the fabric together, right sides facing each other.
Then I sewed it together leaving a 6 in. gap so I could turn the blanket right side out.
I finished the edge with the same zig zag stitch.
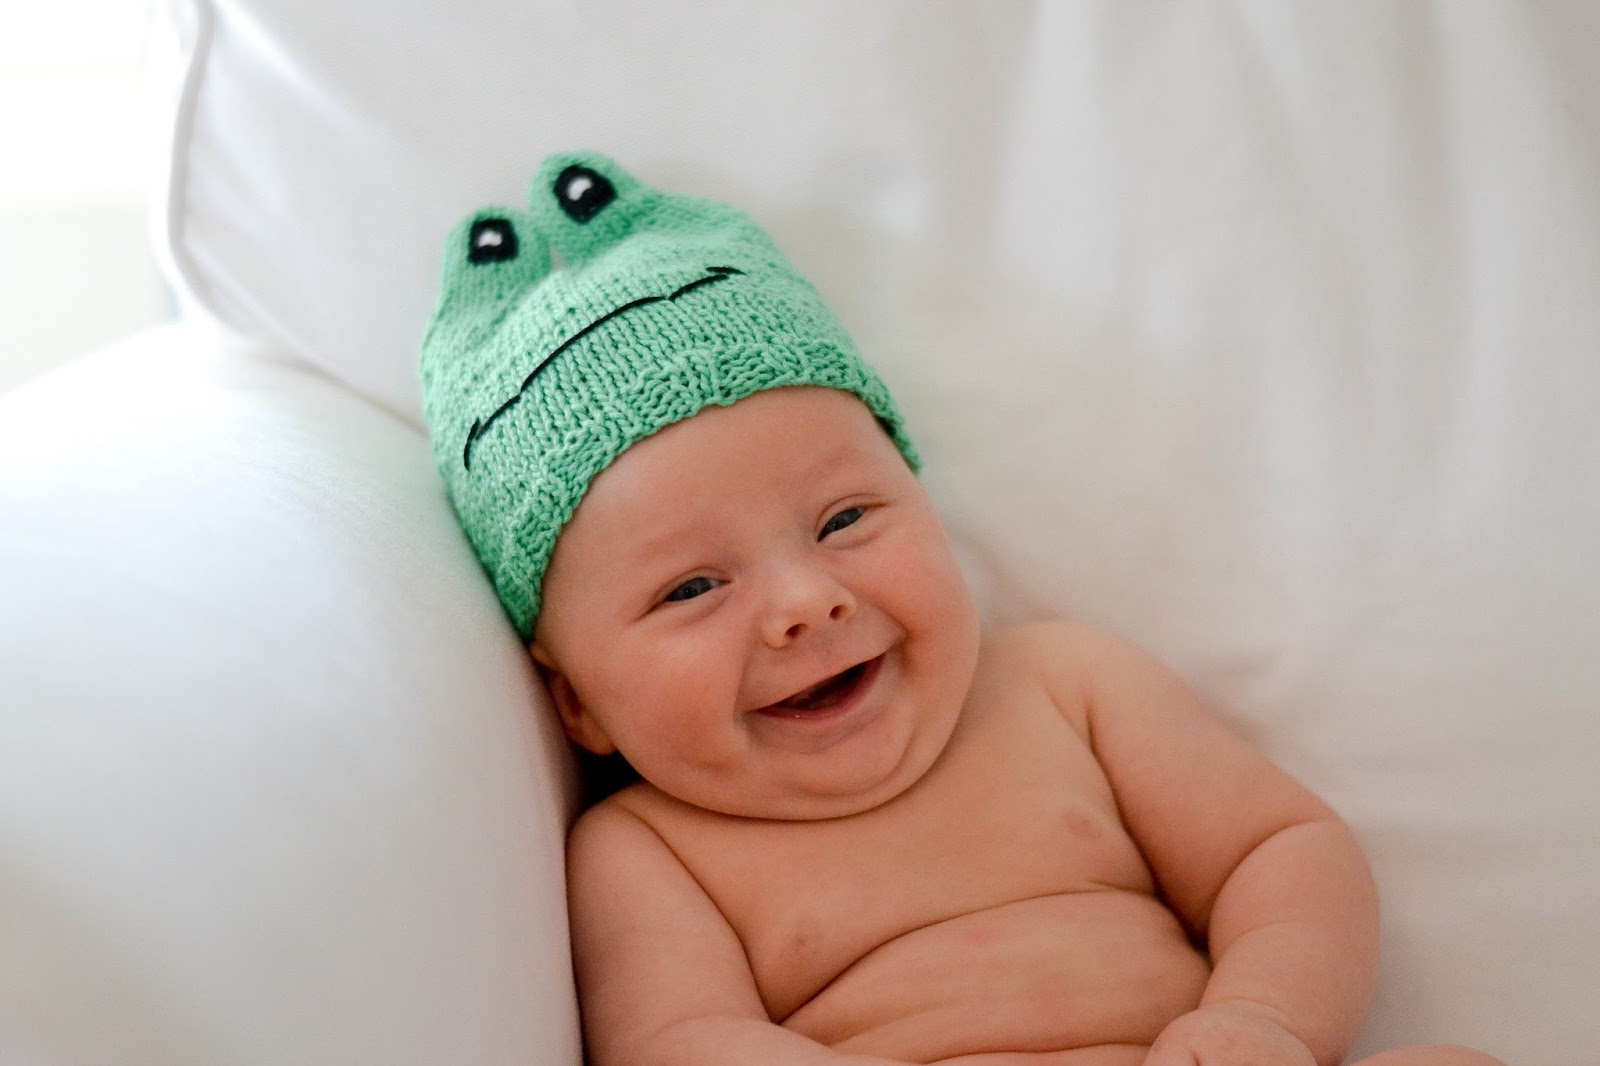
And just like that you have fun, cuddly blankets. At least Griffin thinks so. It was a little harder to get Ella's opinion.
Eventually I was able to catch one photo of them in their blankets on my phone.
**UPDATE**
I just caught these adorable photos of my babies snuggling in their blankets while watching Frozen.
So much better.