Showing posts with label Food. Show all posts

February 22, 2015

Two Ingredient Fruit Roll-Ups


This girl loves her sugar.  (I have no idea where she gets it.)
I am always looking for ways I can give her some sweetness without the intense sugar high.  So when I came across a two ingredient fruit roll-up recipe on my aunt's feed I had to try it - immediately.  Seriously, I grabbed Ella and we got right down to making some fruit roll-ups.  


All you need are two ingredients.  

Fruit & Honey (or some other sweetener)

We used strawberries and blueberries with a tablespoon of agave nectar sweetener.  Tossed it in the blender till it was a nice puree and then poured it out on parchment paper on a cookie sheet.  FYI - the parchment paper is kind of necessary.  Set the oven for 225 degrees and bake for 3 hours.  
Yes, 3 HOURS.

One nap and one outfit change later we were enjoying our fruit roll-ups. 


Leaving it on the parchment paper, cut them into strips and roll them up to enjoy now or later.

We chose now.

(Ella has started a new fashion statement - underwear as outerwear.  Yes, she does wear this out of the house.)


The official review:  great flavor but we need to master the texture.  I've heard these referred to as fruit leathers and it makes sense.  These were a tad tough nothing too bad.  Next time I will pour the mixture a little thicker and more even.  Or if I can't get the mixture to pour thicker, I will bake it a little less.  I'm not sure this will be a common go-to snack for us.  They were yummy and a fun change but I have no issue getting Ella to eat fresh fruit so I probably won't go through the effort (although small) to make these very often.

Bottom line:  Fun, tasty and super easy but not a new obsession.  
We will definitely make them again though.  

June 4, 2012

Apple Hand Pies courtesy of Faux Martha


I made my first crust from scratch!!

I cannot believe that little ol' me successfully made a completely homemade crust.  I really cannot take all the credit, I was forced into it by my dear friend Melissa of Faux Martha.  She didn't know she was coercing me into tackling this frightful beast.
Melissa and her husband will be leaving us and moving across the country so we had a little goodbye party in her honor where we each made one of her amazing recipes.  By the way, she has a whole beautiful blog full of delicious recipes.  It made it really hard to choose just one.  I finally settled on the apple hand pie because I adore them.  Memories of apple picking, crisp air, warm sun and beautiful colors.....ahhh fall.  I'm not wishing summer away but fall holds a special place in my heart.  


I usually make these apple hand pies with store bought pastry dough because I thought I wasn't legit enough in the kitchen to pull off the real deal.  Well thanks to Melissa and her great crust recipe I proved to myself that I can do it.  I did not want to disappoint her by totally ruining her recipe so I was very careful and followed her recipe and video tutorial exactly and came out with a flaky and buttery crust.  Melissa has a great recipe and I was so surprised with how easy it was.  I never will use the store bought stuff again.


Bran loved them too and couldn't even wait for me to finish the mini photo session.  In his defense this was straight out of the oven and they are best warm and fresh!  And they smelled really good too.


Do you notice the glaze on there?  Mix up a cup of powdered sugar, a 1/2 teaspoon of cinnamon and 1 1/2 tablespoons of milk to make a delicious glaze for just a little extra something...it really doesn't need it though.

Thanks Melissa for your inspiring and extremely yummy dishes that are so attainable.  So glad that you will never be farther than a few clicks away (although I will miss having you down the hall).  So excited for you guys and best of luck!


January 11, 2012

Best Frozen Yogurt Recipe (Red Mango knock-off)

Yes I realize it is January in Chicago and a winter storm is headed our way - who cares.  Frozen yogurt ALWAYS tastes good.  ALWAYS.
So read on - I promise you won't regret it.  And if it is too cold for you then Pin It! for this summer.


You have probably figured out by now that I tend to have an obsessive personality perhaps addictive.  When I fall in love, I fall hard.  The latest victim - Red Mango frozen yogurt.  I could eat it for every meal.  My budget could not.  So what does any desperate girl do?  She creates her own cheap, homemade version.  Now cheap is relative considering Greek yogurt is expensive but a small fro yo from Red Mango runs between $4-$5 and a 32oz container of Dannon greek yogurt is about $6.  That same 32oz container creates a lot of yummy scoops.


Now I warn you.  If you have never had Red Mango or Pinkberry then you must know that it is tart and tangy - just how I love it but if that is not your thing then I would not suggest this recipe.  However, if this sounds yummy (and it is) then here you go.


Ingredients
32oz greek yogurt ( I use vanilla because I love the flavor and it mixes well with the fruit but others recommend plain)
1/2 c. sugar (I like mine less sweet so I use 1/2 c. but if you want it sweeter than you could add 3/4 c.)

Now I love it plain and simple but it is also yummy with some fruit.  I used frozen fruit from good ol' Trader Joes - raspberries to be exact - but any fruit would work well.  I tossed the whole bag in the food processor and added a little lemon juice.  You won't need the whole bag but I will be using the leftovers for smoothies, yogurt (non frozen), or maybe even as some breakfast topping. Oh and it is important to note that you may want to strain the seeds out.....my sis taught me that.


So once you have your ingredients you'll need your ice cream maker.  Don't have one?  You could get an arm workout by freezing a metal bowl and stirring and stirring and stirring for about 20 minutes - I don't recommend it because I don't want you to blame me when your arm falls off and all you have is really cold yogurt.  If you do have an ice cream maker then I recommend that you put the bowl in the freezer RIGHT NOW.  There is nothing worse then a fro yo craving and no bowl to make it in.

Ok, now that your bowl is in the freezer we can proceed.
So mix all the ingredients together in a separate bowl (I used the actual frozen bowl and it was fine but things were freezing to the sides before they were completely mixed in.)


Then turn that baby on and watch the magic unfold.  You will really start to smell that delicious sweet, tartness.  It's like bacon only better.


Now the above is raspberry and it is very good but like I said my favorite is good ol' plain vanilla.
I didn't take any photos of it because my sis and I were too busy eating it.  Oh and I was looking for super cute paper ice cream containers to put it in but then I realized the yogurt container is actually perfect for re-storing the fro yo.  It may not look as cute but it is super convenient.  So sorry it looks like I just took a picture of the yogurt.  Oh and you can't tell but it is already more than half gone.


So I hope you try this recipe out and fall madly in love as I did.  Love at first scoop.  I'm done.
Oh and thanks to my lovely sis for helping me with these recipes.  She is far better in the kitchen than I am - my baby sister is much better at many things.   She teaches me a lot.  

September 18, 2011

Chocolate, Peanut Butter, Banana Smoothie


I am discovering that I have an extremely addictive personality.  Whether it is babies, knitting, Pinterest, terrible reality tv or dried green mangos from Trader Joes, once I fall in love with something - I fall HARD.  So when my friend and co-worker told me about her morning smoothies that taste like a milkshake but have the nutrition of a healthy breakfast I knew I was in big trouble.  I was right.  And now that I am addicted (as in I definitely have one EVERY day and sometimes several times a day) I must share her recipe with you.  It's super easy.

Chocolate, Peanut Butter, Banana Smoothie

1      Banana
1      Spoonful of PB
2-3   Tblsp. Cocoa
Handful of Ice
And it's optional but I like to add some Dark Chocolate Almond Milk and some protein powder to give it a little something extra


Put it in a blender and puree.


Then pour and enjoy.  
Oh and definitely don't forget the straw - another addiction of mine! 


February 10, 2011

quick and easy but oh so yummy

I am no gourmet.  Really, I am pretty bad in the kitchen - sorry hunny.  But I have learned some shortcuts over the past few years.  Here is my favorite!

I love butternut squash ravioli - it is definitely a favorite but reserved only for fancy restaurants because I cannot make ravioli and they do not make the packaged butternut squash variety.  Sad face.

That's okay though because I can now make the next best thing.


Whenever I make roasted butternut squash or butternut squash soup I save a small bag of the squash cubes for a quick meal later.  I roast them with sage or thyme, whatever is on hand, and add some salt and pepper.  I then cook up some pre-packaged ravioli and make a brown butter sauce to drizzle over the whole concoction. Delish!

January 23, 2011

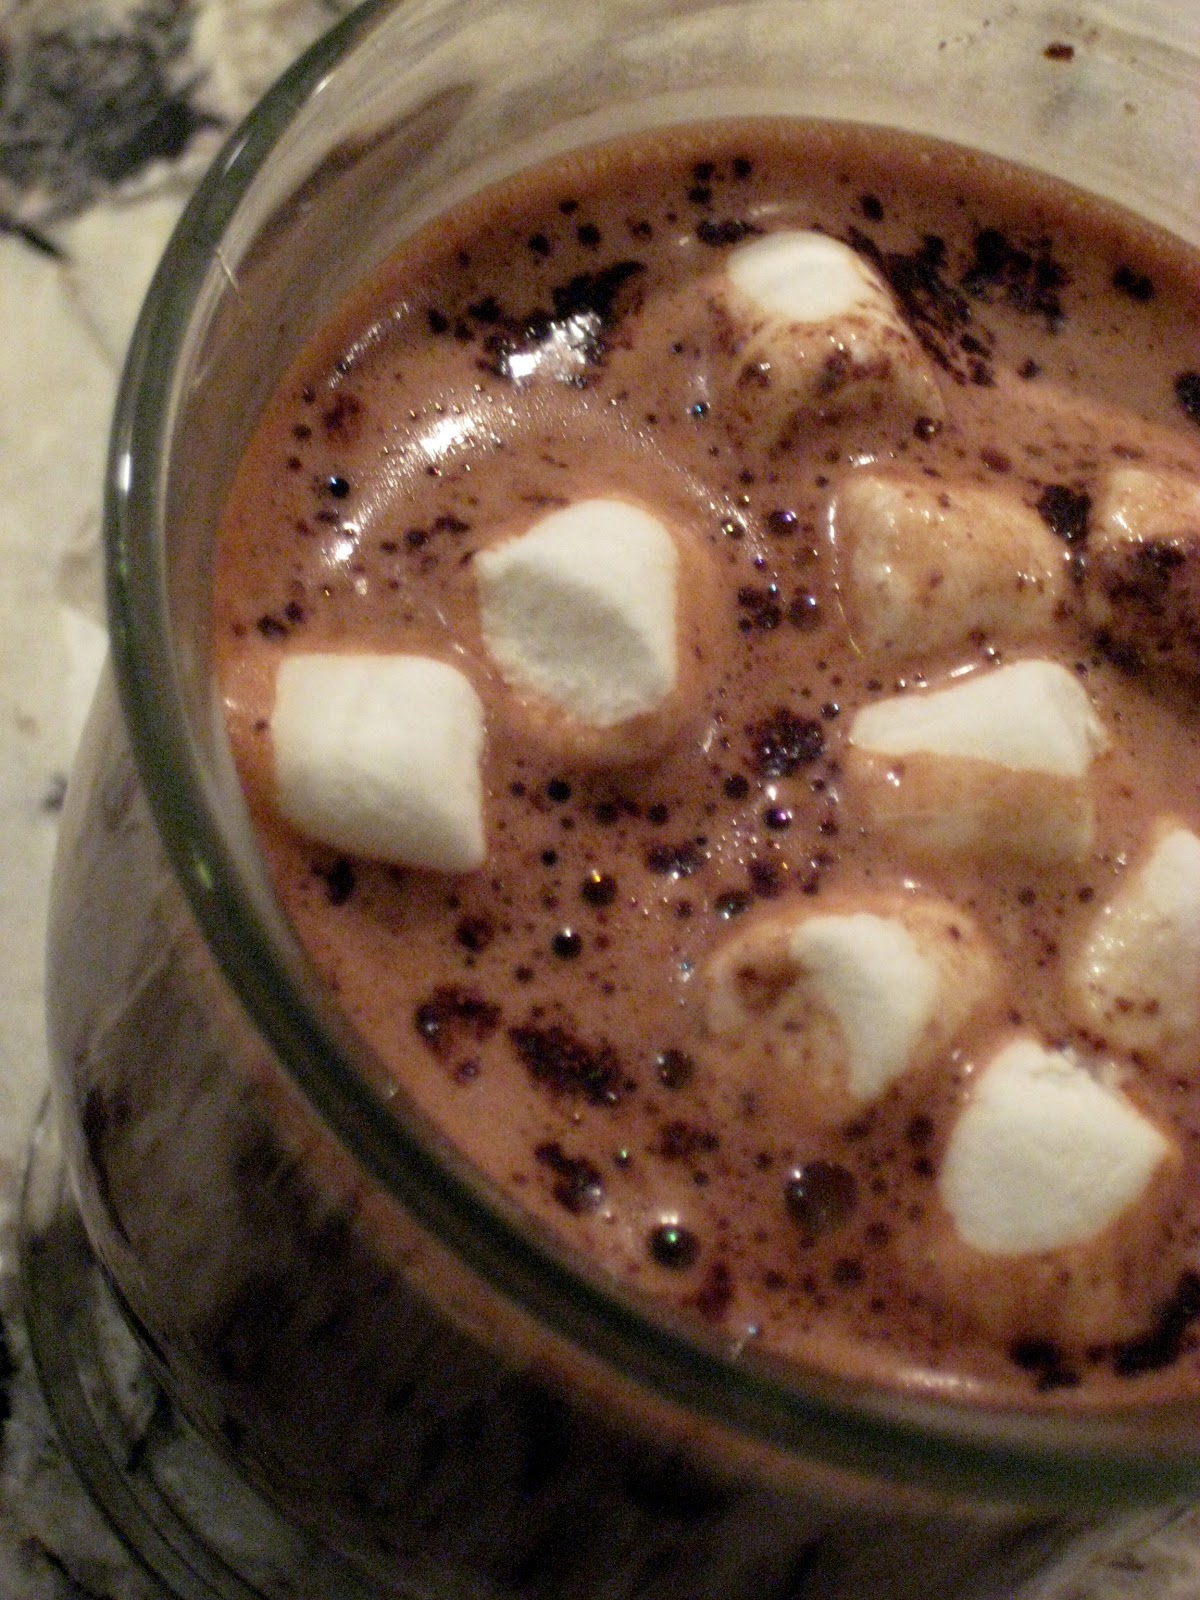
homemade cocoa

We have officially experienced the coldest day of the year this past week/weekend.  I am not a cold weather friend so there are only three items that get me through:  my blanket, the fireplace and hot cocoa - oh and I can't forget the hubby.

I have recently learned that there is only one way to drink hot cocoa - the homemade way.  I will never go back to the pouch.  A co-worker recently shared her recipe and I fell in love and would like to share it with you.  Don't worry this isn't a super secret family recipe that I am about to plaster all over the internet.  Just one she found along the way.


I mix dark and regular cocoa for a richer chocolate taste.  I also add a bit more sugar because I have a major sweet tooth.  The great thing about homemade is that it is easy to adjust it to each person's own taste.  Also to clarify - it is about 1/4 c. of mix to every 8 oz. of water.


I love this mix so much I keep a jar of it on the counter for quick hot cocoa fixes.  I love that my guests can easily help themselves too.


yummm!

January 6, 2011

a meal to end all meals

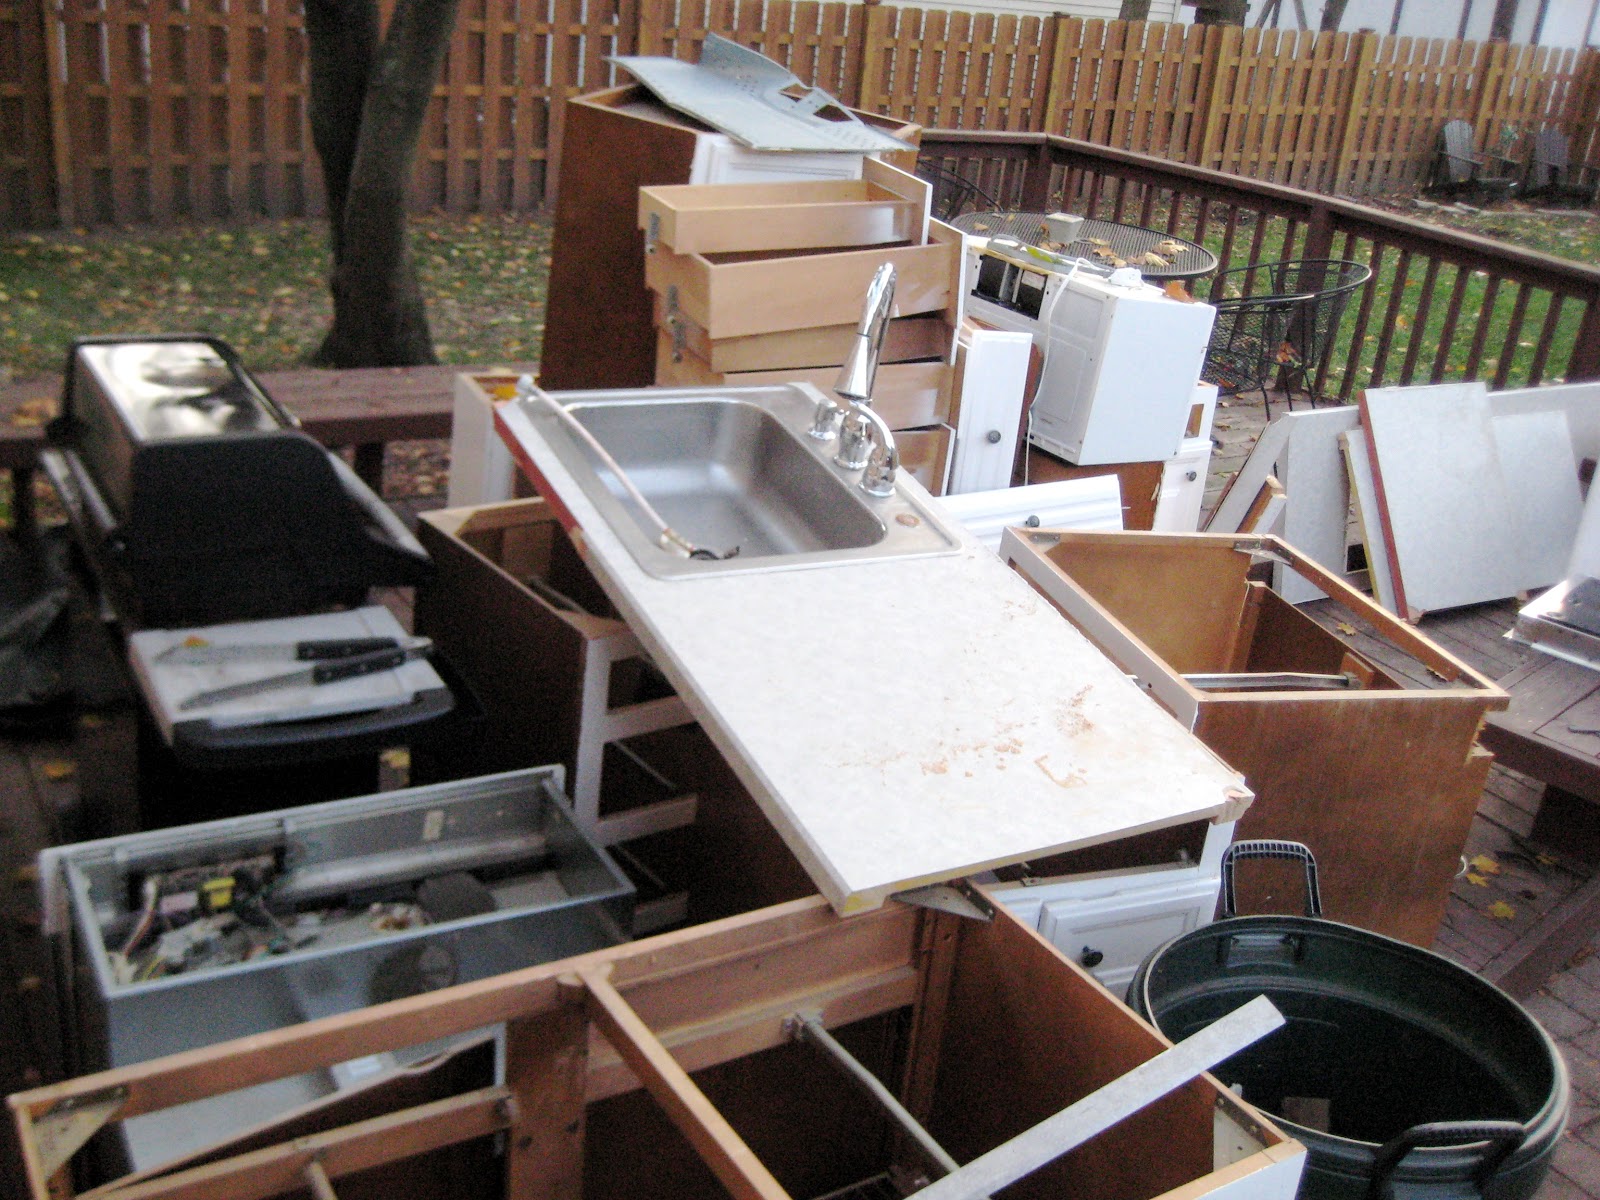
While most people were starting 2011 with fresh diets and great workouts we started ours with our own sort of marathon - a food marathon.  Way back when the kitchen was nothing but a large garbage pile,


my girlfriend Kara and I began planning its inaugural meal.  Actually my girlfriend Kara planned the inaugural meal.  I just nodded my head in agreement.  Kara is as I call her a "foodie".  She is a great cook and hostess so I just lent her my kitchen.  She literally hosted us in our home - it was GREAT.

The kitchen was finalized the day before Christmas so the inaugural meal was set for New Years Day.  The perfect way to ring in a brand new year celebrating with great food and even better friends.

Did I mention this was a marathon meal?  Cause it was.  Kara and I were in the kitchen for 12 hrs. doing a little of this and that


and just generally making a mess as any gourmet chefs would.


To check out our menu and the recipes head over to Kara's post - she is a food photographer and cook extraordinaire.  It puts this baby to shame, and rightfully so.

I know your thinking 12 hrs?  For dinner?  I think I have some explaining to do.  While we truly were in the kitchen and celebrating for 12 hours we were also doing a lot of this....


and this

Master Chef Kara on the right with me, her sous chef, in our aprons gifted to us by our sisters for Christmas.  Completely coincidental.

Kara's apron is actually useful.  Have a measurement question?  Just lift her apron and take a peak *wink*.


When we weren't taking or posing for pictures (thank you Husbands) we were doing this....


drinking AND posing for pictures by the fire.

And the boys?  Well when we weren't sending them out the door on errands (just so we could do the above by the fire) they were doing a little of this.


oh and some of this too


and Hudson he stood diligent at his post


This we all did between courses because the only way to tackle such a massive menu like this, is to consume it very slowly in courses separated by lots of digestion (and drinking and gaming and knitting).


As if planning a massive meal and doing all/most of the cooking wasn't enough, the girl decided she wanted to learn how to knit.  And guess what, she caught on right away and was amazing - of course!

She can't be good at it all, right?


Well after a nice little break it was time to start dessert, FINALLY!  This is what I have been waiting for.  Kara promised to make us warm, gooey, rich molten lava cakes.  
She was going on and on about how easy they are and I kept going on and on about what a little liar she was.

But guess what - they are SO SUPER EASY!  
And they taste even better, especially the batter.


Kara drizzled this over the warm cakes before topping it with fresh whip cream.  
Ahhhh....I die (Rachel Zoe anyone?)


I have to say, this picture does not do it justice.  Honestly, we weren't too concerned with taking pictures at this point but I see now that we at least needed to top it with a little garnish.  Ehhh...really what do I care.

So there you have it.  A MASSIVE post about our MASSIVE meal that turned us into MASSIVE people.  Now to get to that little new year's resolution - working out and eating healthy.

Thanks for stopping by!

Related Posts Plugin for WordPress, Blogger...